
Reviewed · DUBLIN
PicTours Dublin
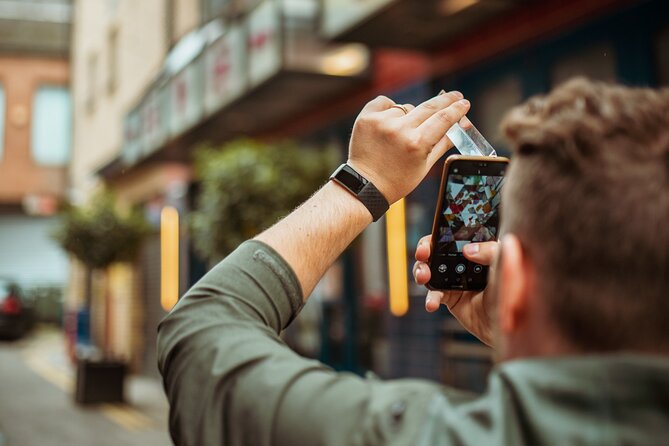
Dublin is a city made for photos, and this one adds a smart twist. You get a photography-themed walking tour with real on-the-spot tips, taught in a way that works whether you shoot on an iPhone or a basic camera. I like how it mixes classic scenes like Grafton Street with practical Instagram lessons you can use right away. One thing to plan for: it is mostly a walking format, so comfy shoes matter.
I also like that the group stays small, max 15 people, which makes it easier to get help when something is not working. The downside is simple, no camera gear is included, so you need to bring your own phone or camera and be ready to practice as you walk.
Why This Dublin Photo Walk Feels Different Than a Usual Sightseeing Loop
This is not just a tour where you show up, point, and move on. The whole flow is built around teaching you how to see. Instead of only naming places, your guide helps you frame shots in real conditions, like changing light, busy streets, and indoor architecture.
It also leans into the modern part of travel photography. You are learning Instagram skills while you are still at the location, not later in a settings menu. That matters, because the best posts come from picking the right moment, then using the right framing and filters.
Finally, the final result is the point. Between your own photos and the professional-style images the guide captures along the way, you should leave with stronger Dublin shots than you would get from a quick wander.
The Quick Essentials: Stops, Time, and What You Actually Do
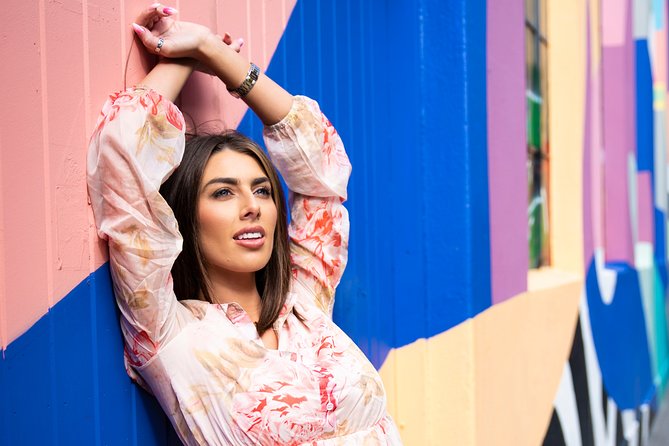
You are signing up for about 1 hour 30 minutes. It is offered in English, and you get a mobile ticket.
The itinerary is built around 5 main stops, each roughly 15 minutes, plus a final 30-minute segment with surprise locations. Admission is listed as free for the stops, so you are not juggling ticket lines. And you can walk with most people, plus service animals are allowed.
More of Dublin worth an open tab:
- Dublin to Cliffs of Moher, including Wild Atlantic Way and Galway
★ 5.0 · 23,331 reviews - From Dublin: Cliffs of Moher, Burren & Galway City Day Tour
★ 4.8 · 18,888 reviews - Dublin: Guinness Storehouse Entry Ticket
★ 4.6 · 16,863 reviews
Stop 1: St Stephen’s Green and Your First Real Photo Technique
You start at Fusiliers’ Arch by St Stephen’s Green. This is a good choice. The park gives you something Dublin does well: natural light, greenery, and wildlife moments that are easier to photograph than a crowded street.
At this first stop, the guide focuses on beginner-friendly technique. The idea is not to overwhelm you. You practice the basics of getting the subject sharp, using light where it falls, and composing so your photo reads clearly even on a phone screen.
If you have struggled with nature shots, this stop is where you can fix the most common problems fast: shaky framing, confusing backgrounds, and exposure that looks fine in real life but does not translate to a camera app.
Stop 2: St Stephen’s Green Shopping Centre for Architecture and Indoor Shots
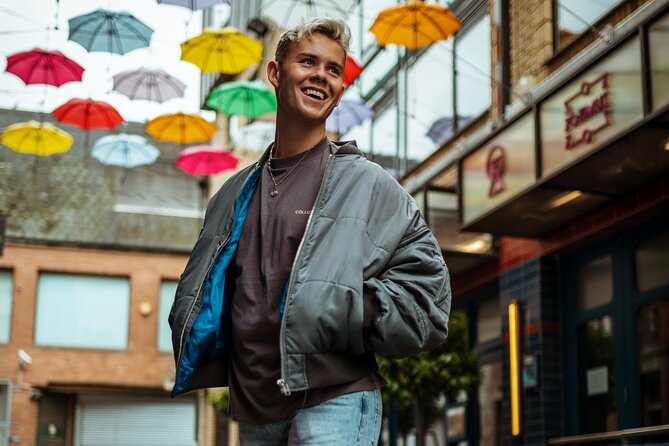
Next you head indoors to St Stephen’s Green Shopping Centre. This stop is about architecture photography and learning how to work indoors without the same lighting tricks you get outdoors.
The centre has a music-story connection too, tied to U2’s early gigs and its past as a trading hall. Even if you only catch a few beats of that history, it gives your photos context. And context helps you shoot with intent, not just autopilot.
Practical takeaway: interior scenes are where phones often struggle with brightness and contrast. This stop pushes you to look at lines, angles, and interior detail, then adjust your framing so the space looks dimensional instead of flat.
A small consideration: indoor lighting can be tricky. If your camera app defaults to harsh glare or too-dark shadows, expect a bit of adjustment while your guide helps you dial in a cleaner look.
Stop 3: Grafton Street Street Photography and Light Control
Then it is out to Grafton Street, Dublin’s famous busy corridor. This is your street photography classroom. The guide shows you how to maximize lighting and how to work with motion, crowds, and constant activity.
You also get a real-world bonus here: buskers are often part of the scene, day and night. If you like photos with energy, this is where you can capture it. If you prefer calmer frames, you can aim for tighter details like hands, instruments, shop reflections, or story-driven street moments.
On the Instagram side, the guide covers filters and which hashtags to use. The goal is not just to post something pretty. It is to understand how discovery works, so your photo has a better chance of reaching people who actually want to see Dublin.
Same city, a different sort of day out:
- Dublin to Cliffs of Moher, Burren, Wild Atlantic Way, Galway Tour
★ 5.0 · 12,924 reviews - Dublin: Giants Causeway, Dark Hedges, Dunluce & Belfast Tour
★ 4.8 · 8,843 reviews - Dublin to Belfast Black Cab, Dunluce Castle and Giant’s Causeway
★ 5.0 · 7,954 reviews - Kilkenny, Wicklow Mountains & Glendalough Day Tour from Dublin
★ 5.0 · 7,897 reviews
Stop 4: Anne Street South and the Umbrella Installation Contrast Game
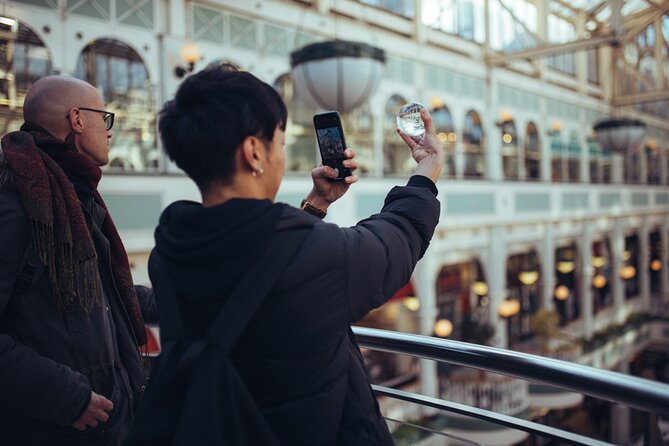
At Anne Street South, you get a quick detour into a back street style of Dublin. The standout here is the umbrella art installation. It is the kind of scene that instantly gives you bold colour and strong visual shape.
This stop is also a shortcut to better photos: you learn how to work with contrast and how to push colour without turning everything into a fake-looking mess. Lighting matters here, because the umbrellas do not just look good, they also create tricky reflections and bright highlights.
A practical part of the lesson is posting timing on Instagram. You are not just taking the photo, you are learning how to think like the app, posting when your audience is most likely to see it.
The only drawback you might notice is this stop requires you to pay attention. If you only hold your phone at arm’s length, you will miss what makes the umbrellas special in a photo.
Stop 5: Two Surprise Dublin Locations, Changed by Weather and Taste
The final segment is your payoff: two secret locations that the guide will reveal only on the walk. The plan is intentionally flexible. Your surprise spots change daily due to weather, new art installations, and what your specific group seems interested in.
This is where the tour can feel the most personal. If you tell your guide what you want to shoot, they can steer you toward the right kind of streets, murals, or photo opportunities.
You should also expect this last part to be less about ticking boxes and more about getting a couple shots you truly did not plan for. That is often what becomes the best memory when you look back at a camera roll.
The Instagram Skills That Actually Matter (Not Just Random Hashtags)
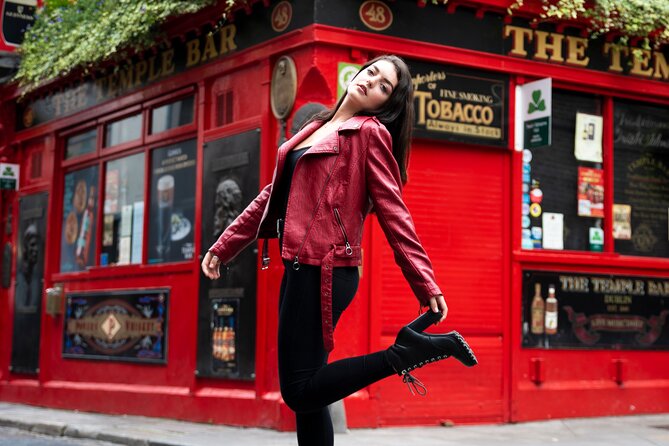
Instagram advice is everywhere, but this tour uses it for something specific: making your photos perform while you are still in Dublin.
You learn:
- How to filter without destroying your colours or making the image look over-processed.
- How to think about hashtags, so your post connects to the right search and discovery flow.
- How to time your posts, which is one of those boring tips that can make a real difference.
The reason I like this approach is timing. When someone teaches you about light and framing at the exact location, your photos improve immediately. Then the Instagram tips help you turn those improved photos into posts that match what people want to see.
Who This Photo Tour Suits Best (and Who Might Want Something Else)
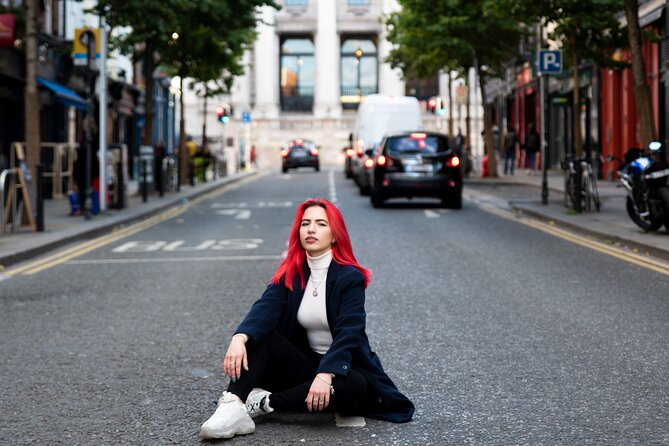
This is a strong fit if:
- You want better photos but you do not want to spend a whole day figuring camera settings.
- You rely on your phone and want practical tricks for iPhone-style shooting features.
- You like small groups and want feedback when your shot is not working.
It is also a good match if this is your first day in Dublin. The sites include the city’s key visual hits, so you leave with both great images and a faster understanding of where things are.
It may be less ideal if you hate walking, or if you expect a hands-on studio class with specific camera equipment. The tour lists that camera equipment is not included, so plan to use what you have.
What You Get When the Walk Ends: Photos, Confidence, and a New Way to See
The best part of a guided photo walk is confidence. You learn what to look for and how to fix common mistakes. Even if you already take photos, you tend to pick up something new once someone points out how to use available light and how to compose quickly.
Some guides also capture photos of you during the walk, and you may end up with a collection of images the guide took for you. That is a nice safety net if you miss a shot or if your best frames are not the same angle you want for a travel-photo profile.
Either way, you should leave with professional-style results. The point is not only to get Instagrammable stops, it is to learn how to shoot them with purpose.
Tips to Make Your Tour Photos Look Better Immediately
Bring what you have and be ready to use it. Since camera equipment is not included, your phone or camera is your tool.
Before you start, do these three things:
- Keep your lens clean and your camera app open so you are not hunting menus while the light changes.
- Wear comfortable shoes for frequent short stops and quick re-framing.
- Pay attention in each location to what the guide is fixing, like brightness, contrast, or framing.
If you are even a little unsure, you can ask questions. Many guides are patient and help you understand the settings in a simple way, even if you are not tech-first.
Practical Logistics That Will Save You Stress
The tour starts at 2:00 pm, from Fusiliers’ Arch near St Stephen’s Green. Ending is flexible, and each tour ends at a different point. That means you should plan light, flexible plans afterward.
It also helps to arrive a few minutes early at the meeting area. One small note from real-world experiences is that St Stephen’s Green has several entrances and zones. If you are trying to meet up quickly, you will feel better if you take a moment to confirm the exact gathering point before the tour begins.
Good news: it is near public transportation, so getting in and out is usually straightforward.
Should You Book PicTours Dublin?
Yes, if you want Dublin photos that look like you knew what you were doing, without needing to become a full-time photographer. This tour is a smart use of 90 minutes because it gives you both the sites and the shooting lessons. The small group size and frequent teaching moments make it easier to get the kind of feedback that helps your photos right away.
Book it especially if you care about Instagram-ready results and want a guide who can help you with iPhone-style features, light, and composition while you are standing in front of the scene. If you hate walking, or you are hoping for a tour that never requires practice, you may prefer a different style of Dublin day.
Fresh options around Dublin
- Wicklow Mountains Private Day Tour including Glendalough★ 5.0 · 7 reviews
- Wicklow: Private Day Tour from Dublin★ 5.0 · 5 reviews
- Women Of Ireland: Trailblazers & Pioneers★ 5.0 · 4 reviews
- Wicklow Mountains & Glendalough Luxury Private Day Tour★ 5.0 · 23 reviews
- Wicklow tour of Glendalough★ 4.5 · 8 reviews
- Dublin To Kilkenny Castle Waterford Crystal Private Car – Day Tour★ 5.0 · 8 reviews
- Waterford Crystal and Kilkenny Full-Day Rail Tour from Dublin★ 5.0 · 3 reviews
- Full Day Private Wicklow Tour★ 5.0 · 12 reviews